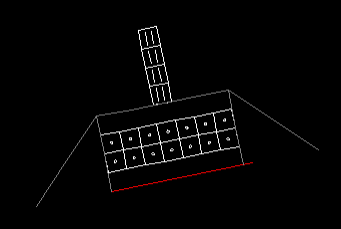

This is drawn by selecting two points, left to right across the dropped kerb length. The extent to the rear is adjust by selecting the paving after it is drawn, and by dragging the top grip.

This provides an area of tactile paving, so that any odd shapes and tricky sites can be created from a number of the rectangles. It is drawn by selecting two points, front left and front right of the rectangle. The rear distance can be adjusted, again, by picking the paving after it has been drawn and selecting the appropriate grip.

This is drawn like a road markers line, using the two-point and three-point methods. The correct number and position of studs are then created automatically by GuideSIGN Markings. If the item is editing by picking and dragging grips, then the studs will be automatically repositioned.
The gap between the markers can be adjusted by double picking the lines of studs and then adjusting the distance in the Feature options dialog.